Send Pushbullet Note via VMware Orchestrator
Send Pushbullet Notes
Pushbullet is a great tool to use for alerting of a variety of scenarios. If you haven’t looked at it before I highly recommend it and beats the heck out of email alerts. For example if I wanted to be alerted of a completed workflow or even an error in a workflow Pushbullet is a perfect solution. Alerts can be sent to one or multiple devices all at once. By leveraging the HTTP-REST plugin with Orchestrator this becomes very easy. Lets get started with a simple example on creating a workflow than can be then utilized in others.

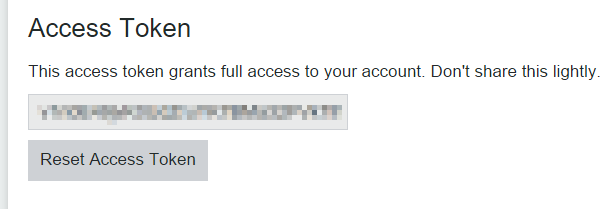
Get Token
You’ll need your access token for Pushbullet that will be used for authentication. You can find your token by logging into Pushbullet and going to “Settings\Account” and making note.
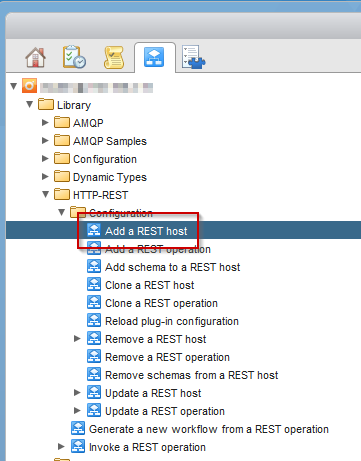
Add Rest Host
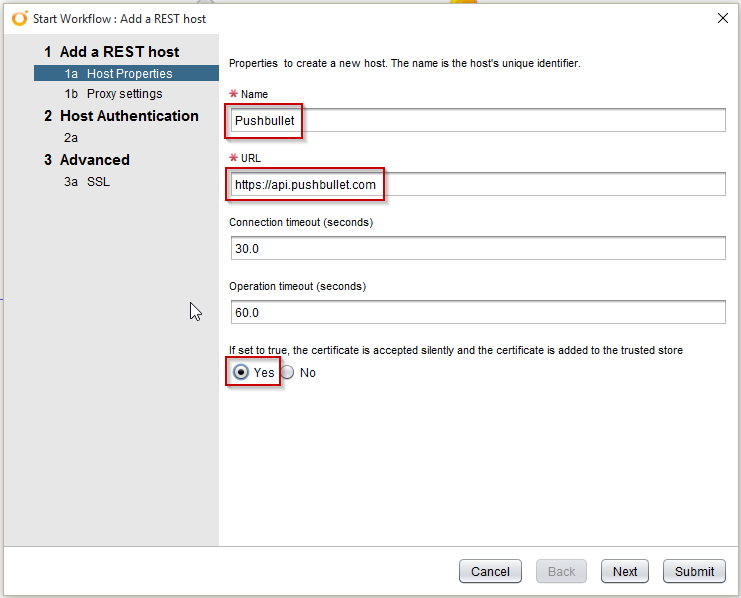
First we will need to add the Pushbullet API url so we can use it with the plugin.
Feel free to use a different name.
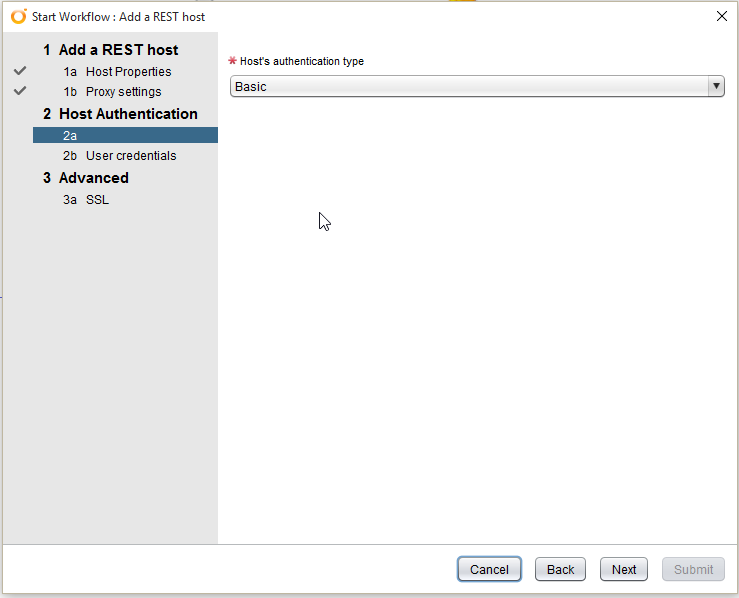
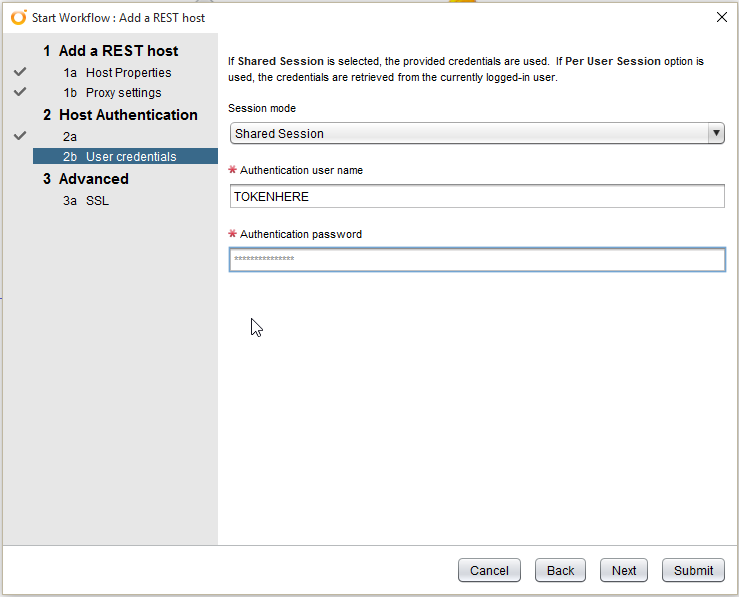
Enter the token you noted earlier and the password can be anything
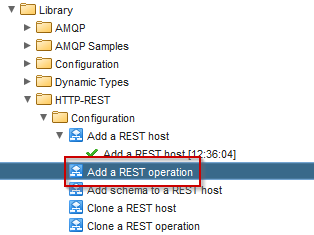
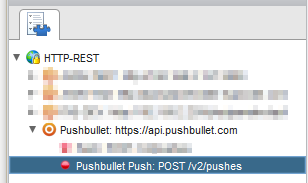
Add Rest Operation
Now that we have the Host we need to create the operation to send to the Pushbullet URL.

Select the host we created earlier
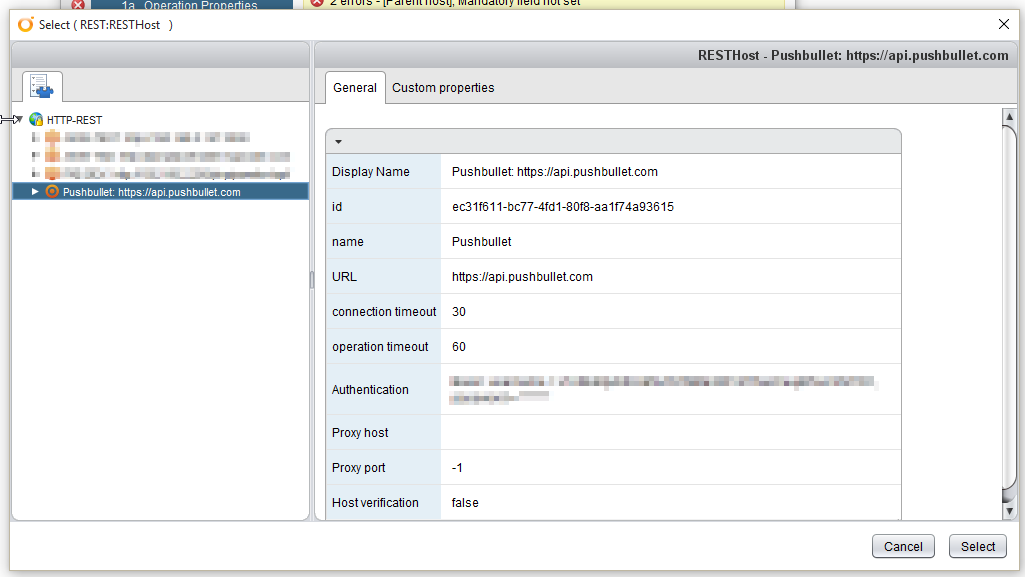
Now enter the information the operation we want to run
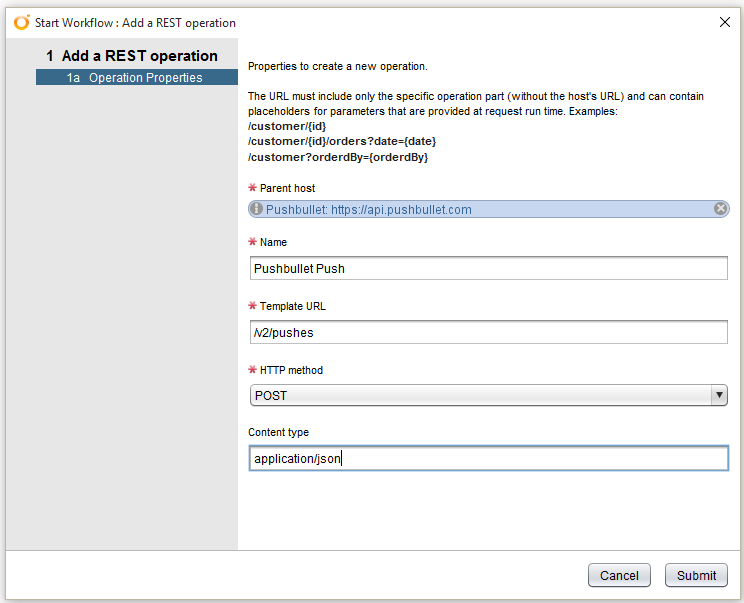
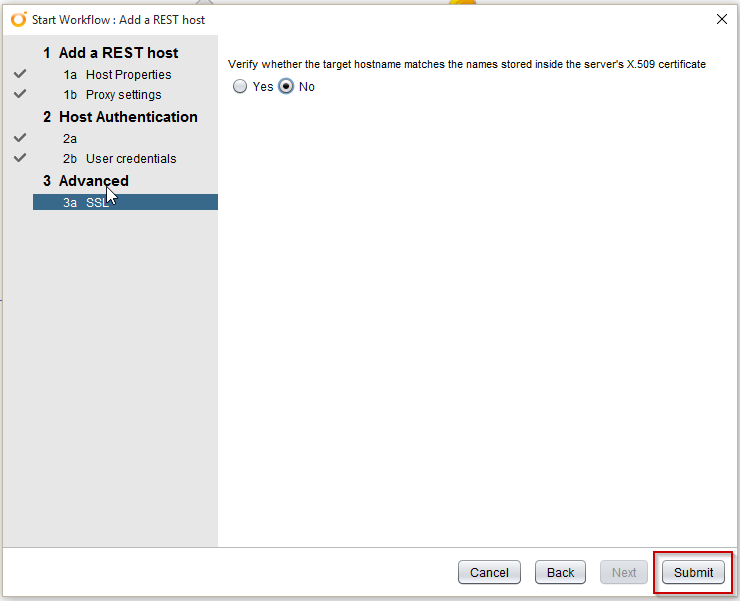
Select Submit when completed to create operation
Create Workflow
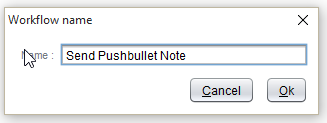
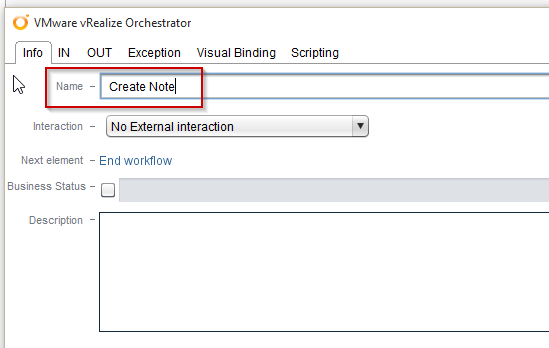
Within Orchestrator create a new workflow
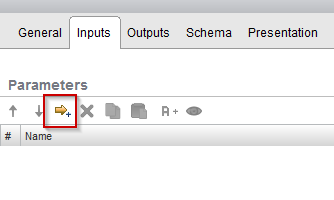
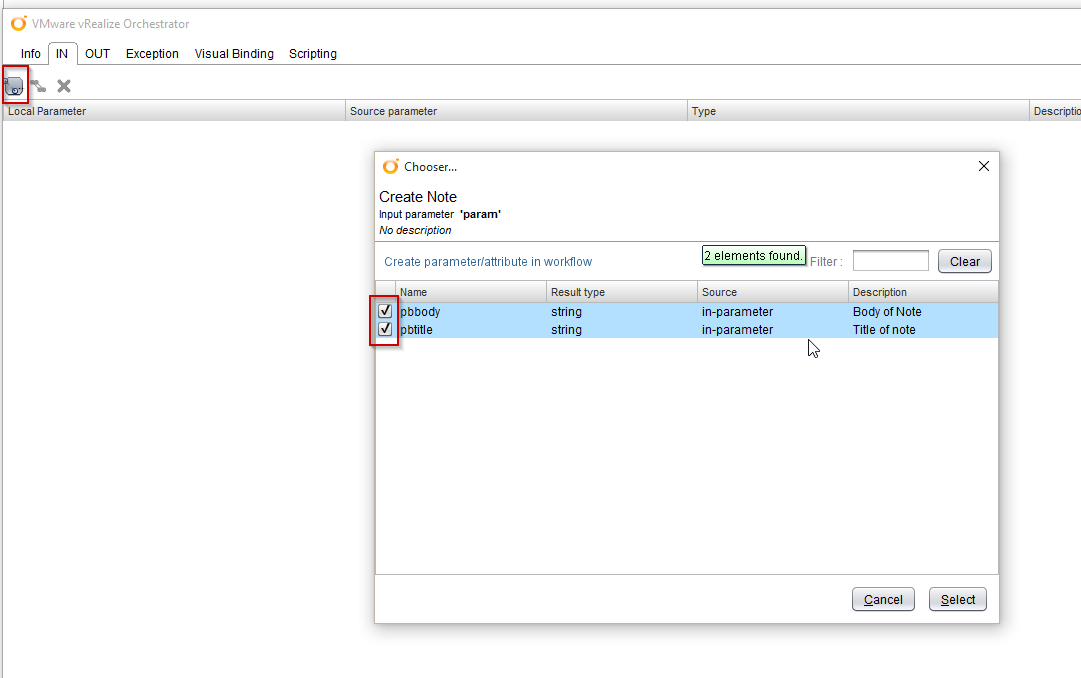
Now edit the workflow and lets add some inputs to use for the content of the message to send

We will add two inputs
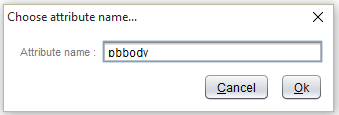

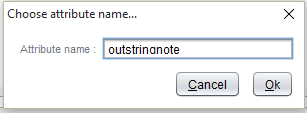
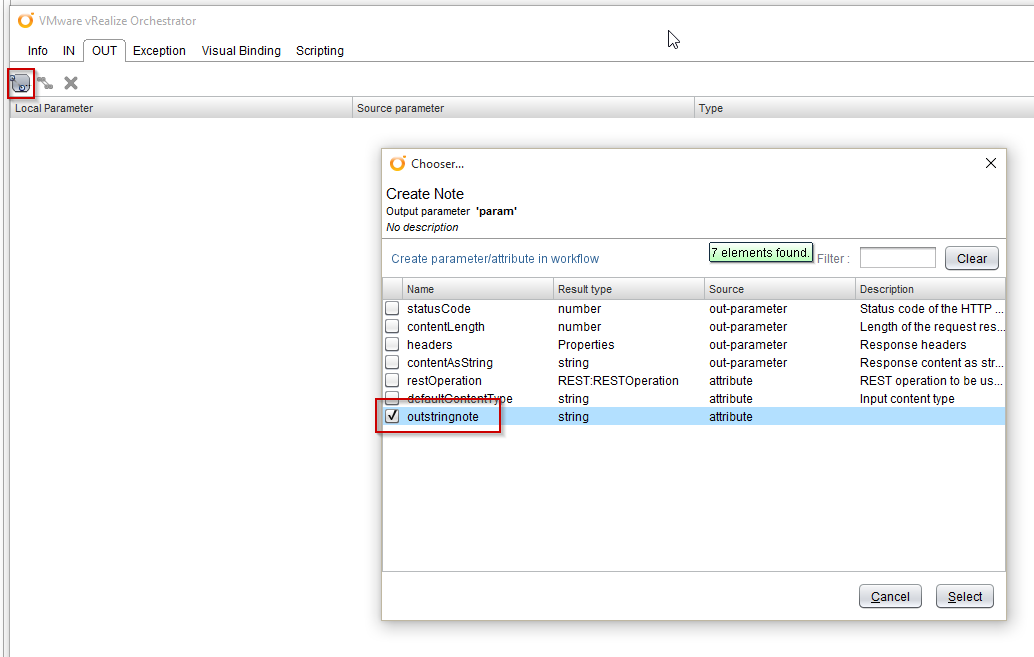
Now we need to add an attribute used for the message
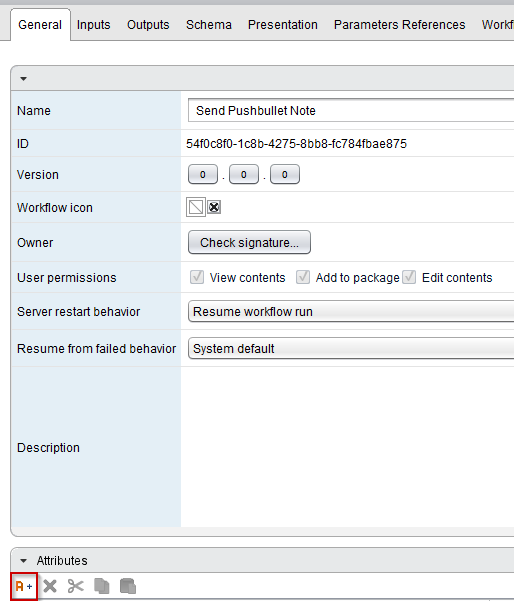
That says outstringnote
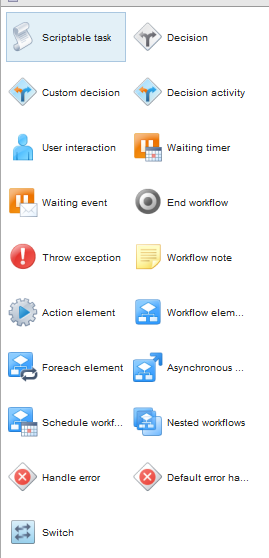
Sciptable Task
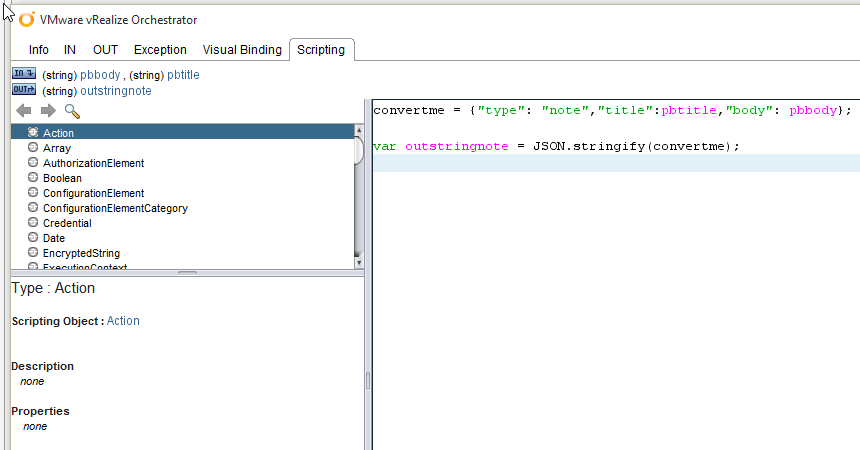
Now we will add a scriptable task to place the content in format to be used with pushbullet
We are going to bind our inputs we created earlier
Now we will bind our output variable
Now for the actual script we use to convert to a string to send to Pushbullet.
var outstringnote = JSON.stringify(convertme);
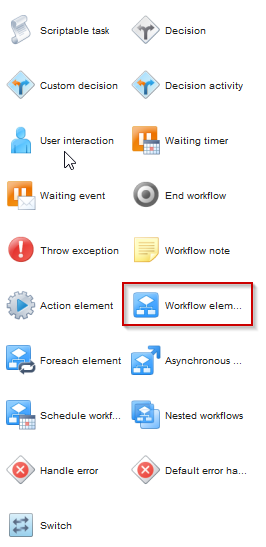
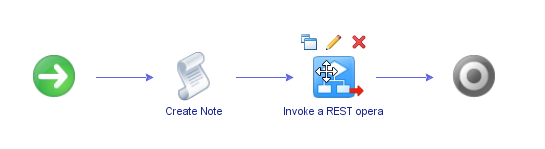
Add REST Operation to Workflow
Now we will add the REST operation we created earlier
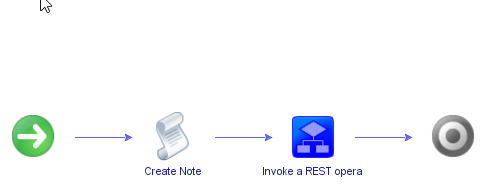
Your workflow should look like this so far
Now select the “Setup” button in the upper right to setup the bindings.
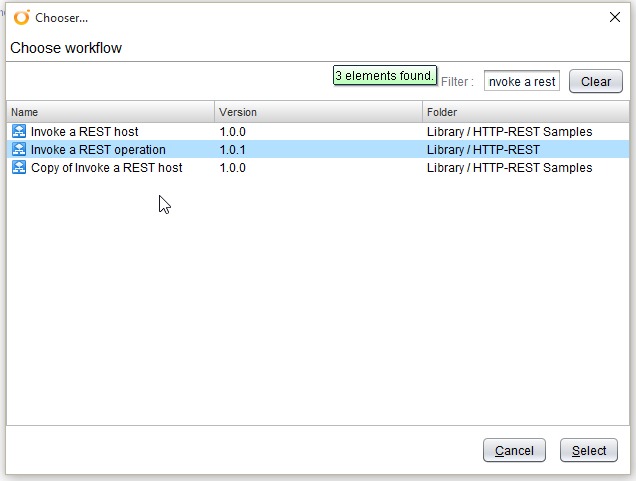
Select the operation we created earlier
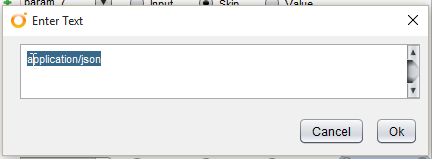
All the params can be “skipped” and select the value for defaultContenttype

Enter application\json and hit ok
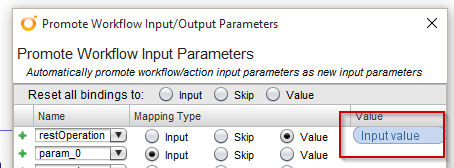
And select promote
Edit Workflow
Back on the schema tab select edit of the “Invoke a REST operation”
Select the IN tab and select the content parameter
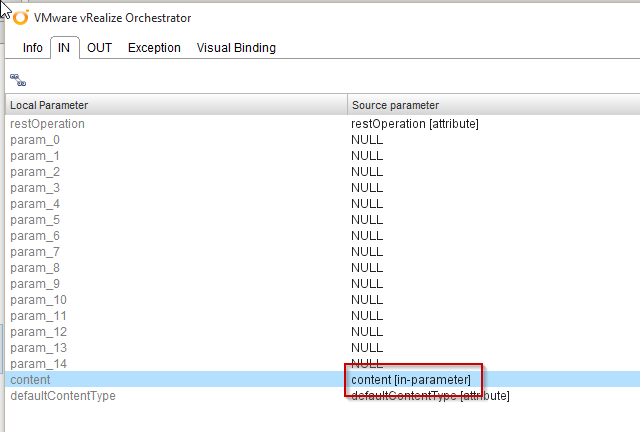
Now select the variable we used in our script

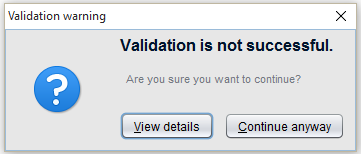
Now hit save and close your workflow. If you receive a validation warning just hit view details and follow any recommendations.
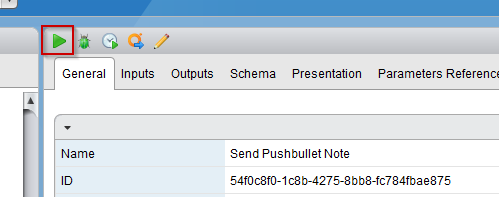
Run Workflow
Now we are ready to run our workflow.
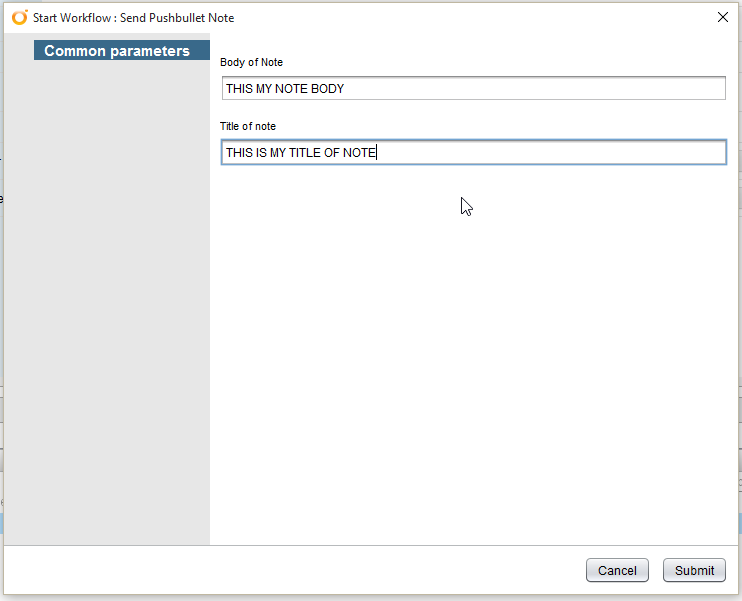
Now hopefully this was completed successfully. If it didn’t work check through the log of the workflow run for some details.
Leave a comment